Let’s make a lovely….
DIY Flower Garden: A Fun and Easy Paper Craft for Kids!
Looking for a fun and easy paper craft for your kids? This DIY flower garden is perfect for children aged 5-12 and can be made using simple household items – just paper or construction paper and some pipecleaners or wire or paper straws.
With just a few supplies, your children can create their very own colorful and unique flower garden that will brighten up any room. Make one paper flower or make many! One could be lovely to add to the front of a Mother’s Day Greeting Card, MANY would be lovely as a vase of flowers!
Craft Supplies needed:
- Colored construction paper (if you want you can paint on paper or card first!)
- Green pipe cleaners
- A pair of scissors
- Glue stick
- Pencil
- Ruler
How to make a lovely DIY Flower Garden – quickly & easily
As mentioned, this is a lovely craft for kids of all ages, but I think it is particularly great for preschoolers and toddlers just starting out with their cutting skills!
Step 1: Cut the Paper Strips
Start by selecting the colors of paper you want to use for your flowers. Cut the paper into strips that are 1 inch wide and 8 inches long. You will need about 5 strips of paper for each flower. This will make 10 petals. You can of course make your petals bigger or smaller, by adjusting these basic dimensions!
Step 2: Make the Flower Petals
Take one strip of paper and fold it in half lengthwise. Sketch out petal shapes with a pencil (with the bottom of the petal meeting the fold of the paper). Now cut out the petal being careful to keep the join. Unfold the strip to reveal two connected petals. This just gives the flower a bit more “stability”. You can of course simply cut individual petals too.
Repeat this process with the other strips of paper until you have enough petals for your flower.
Step 3: Assemble the Flower
Take one of the paper petals and apply glue to the middle. Layer the petals on top of each other and press it down. Repeat this step with the other petals, layering them on top of each other to create a flower shape. You can draw on a pretty centre or stick a circluar piece of paper on.
Step 4: Add the Stem
Cut a green pipe cleaner in half and bend one end to create a small loop. Apply glue to the loop and insert the long end into the center of the flower – you may have make a small snip for it to fit through better. Pull the pipecleaner through until you reach the loop.
Twist the pipe cleaner to secure it in place.
If you don’t have any pipecleaners.. you can draw a centre to on your flower or glue a contrasting color circle of paper into the center and glue the paper flower to the top of a paper straw.
Step 5: Make the Leaves from Green Paper
Cut a piece of green construction paper into a rectangle that measures 2 inches by 4 inches. Fold the rectangle in half lengthwise and cut out a leaf shape, leaving the two sides connected.
Step 6: Attach the Leaves
Apply glue to one paper leaf. Fold over the pipecleaner stem in the position you want the leaf to be and glue “shut”,
Step 7: Create the Flower Garden
Repeat the process with different colored paper strips to create as many flowers as you want. Arrange the flowers in a vase or tie them together with a ribbon to create a bouquet. You can experiment with different petal shapes (e.g. pointy or rounded) and different petal sizes!
You can also glue the flowers onto a piece of paper or cardboard to create a 3D garden display. It would also be fun to poke the flowers into an egg carton that you have painted green first! Lots of options for this cute and supe rsimple craft!
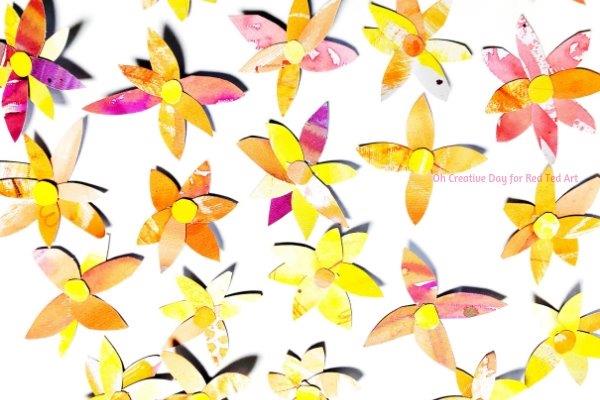
And there you have it!
A beautiful and unique flower garden made out of construction paper.
This craft is a great way to keep your kids entertained while also encouraging their creativity and imagination. Plus, it’s an affordable and eco-friendly alternative to buying fresh flowers. This would be a LOVELY craft for Mother’s Day or for Grandma!
So what are you waiting for? Gather your supplies and start crafting!